Online Store
Accessories
Sewing Patterns
Cooking Recipes
Cooking Recipes
Everyday
Asian Noodles
Beef
Bread & Pizza
Cheese
Chicken
Egg
Fish
Pasta
Pork
Rice
Salad
Sauce
Seafood
Snack
Soup
Tofu
Vegetables
Sweet
Cake
Candies
Chilled Desserts
Cookies
Danish Pastry
Fruits
Ice Cream
Mochi
Deep Fried
Fast & Yummy
Basic ingredients
Blog
Find us also on
Etsy
YouTube
Amazon
My Account
My Account
Cart
About us
Dans la lune
January 1, 2021
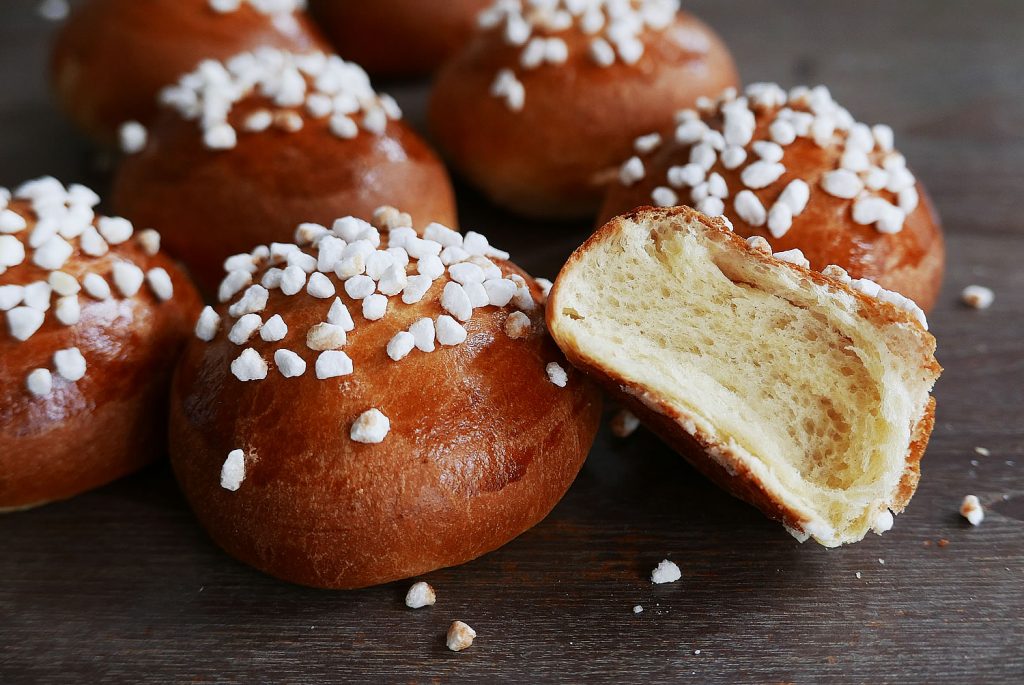
Brioche with a bread machine
November 19, 2020
Soup Dumpling | Xiao Long Bao | 小籠包
November 19, 2020
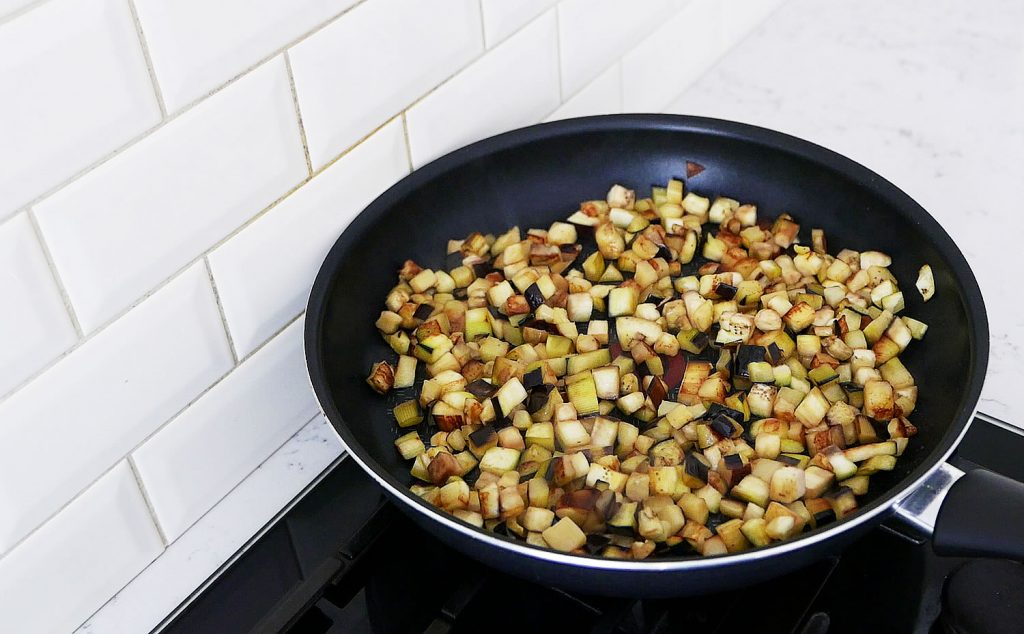
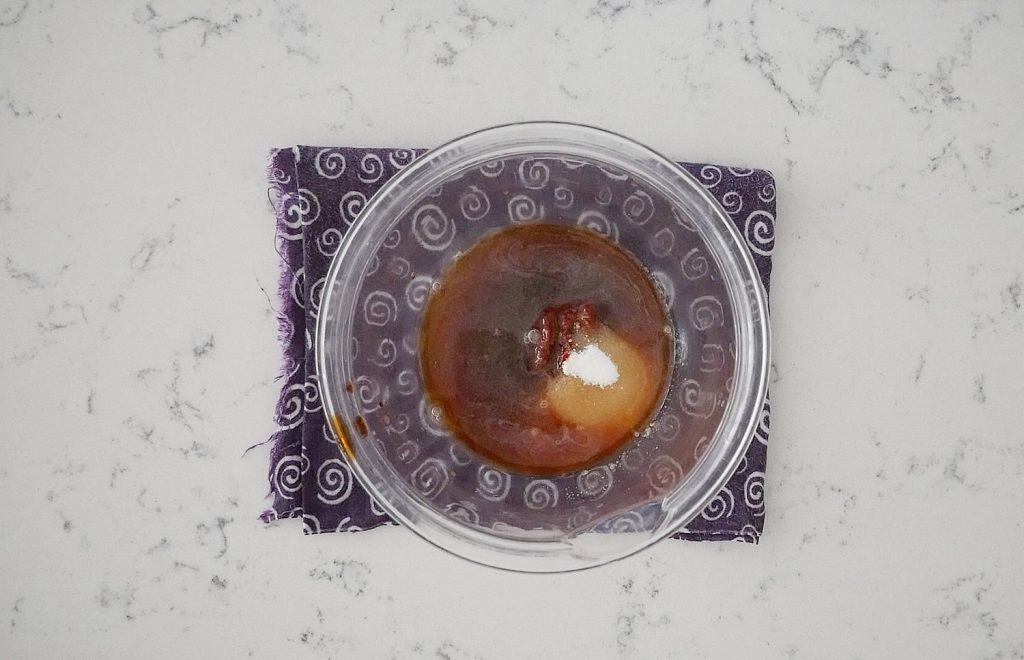
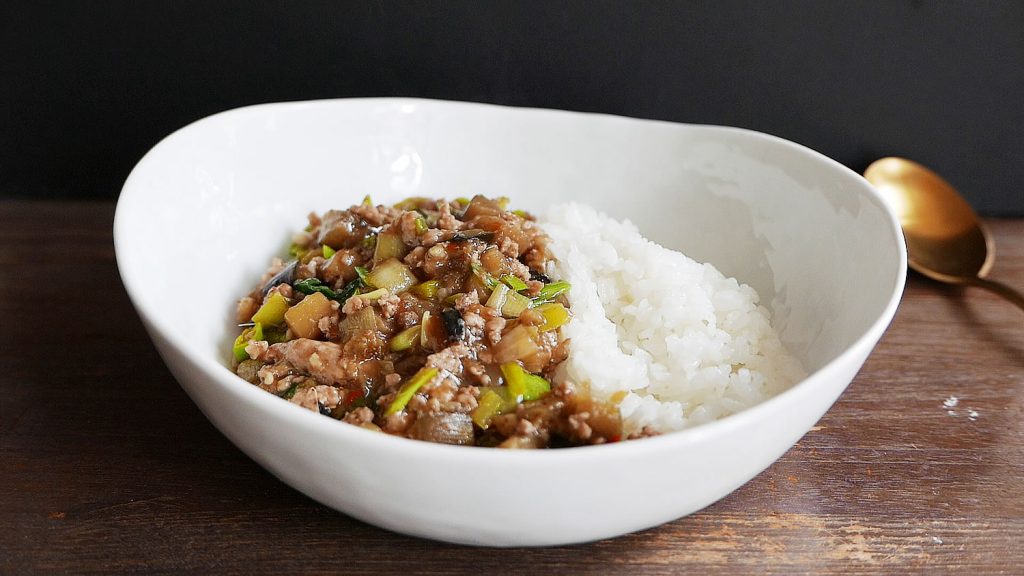
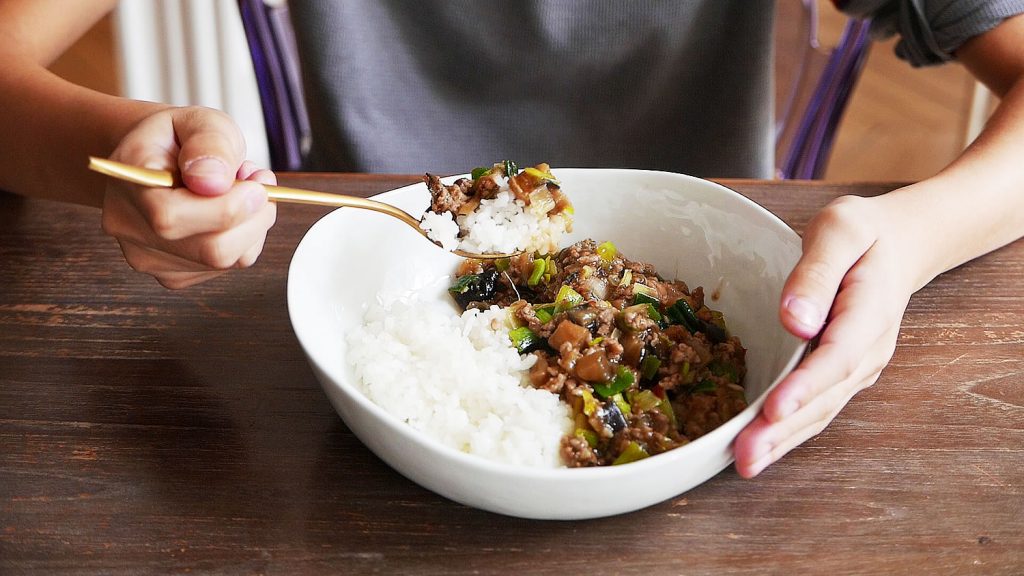
Eggplant mapo
November 6, 2020
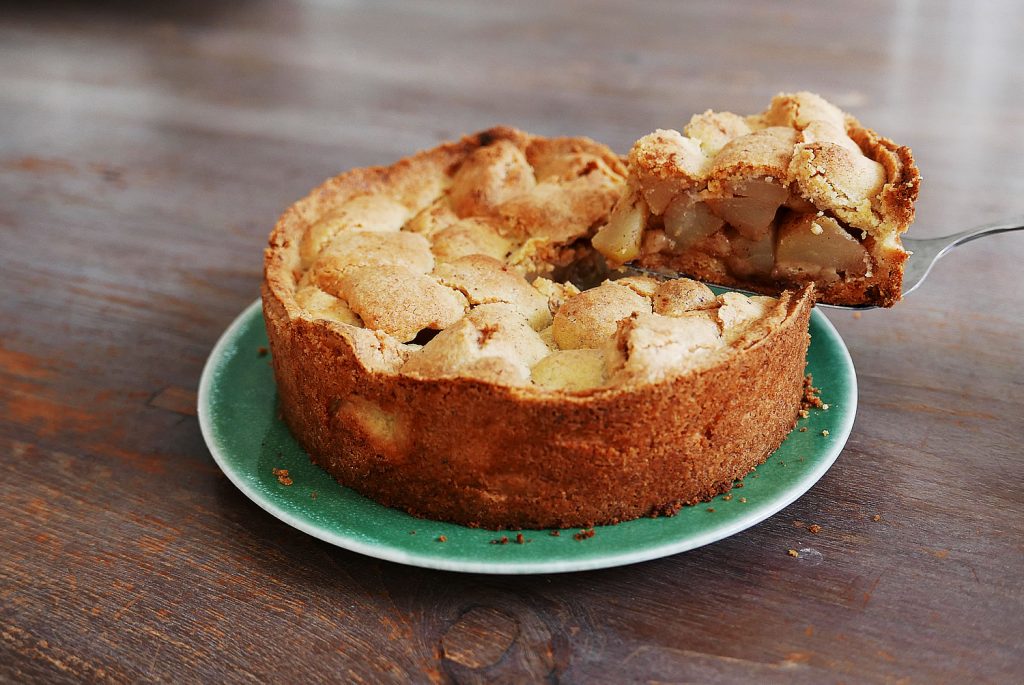
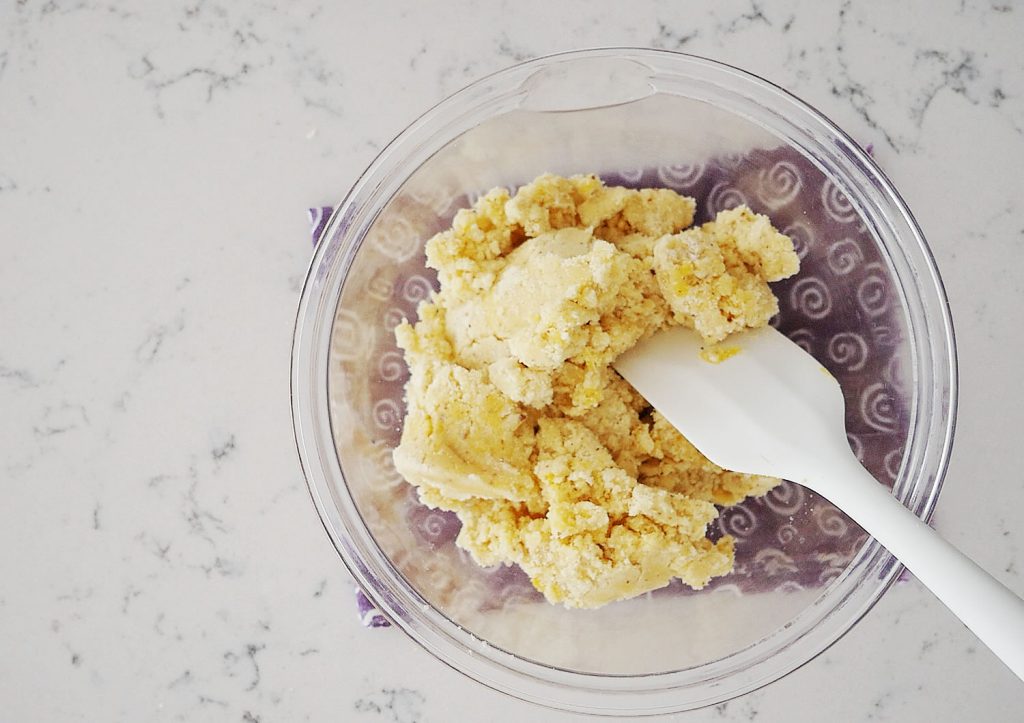
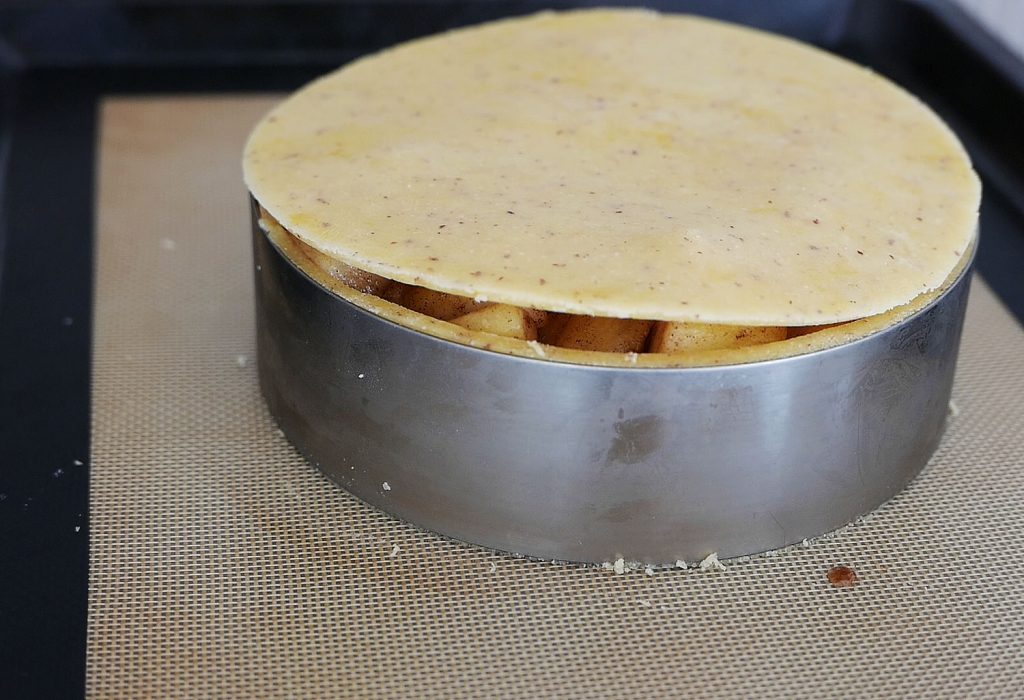
Pear Tart
November 1, 2020
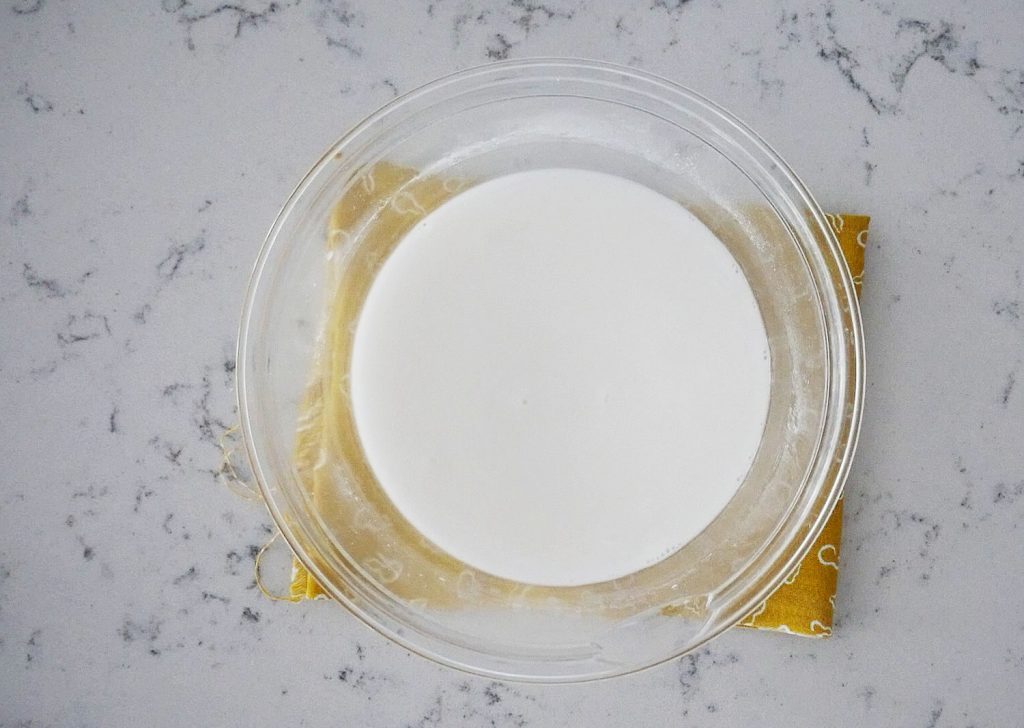
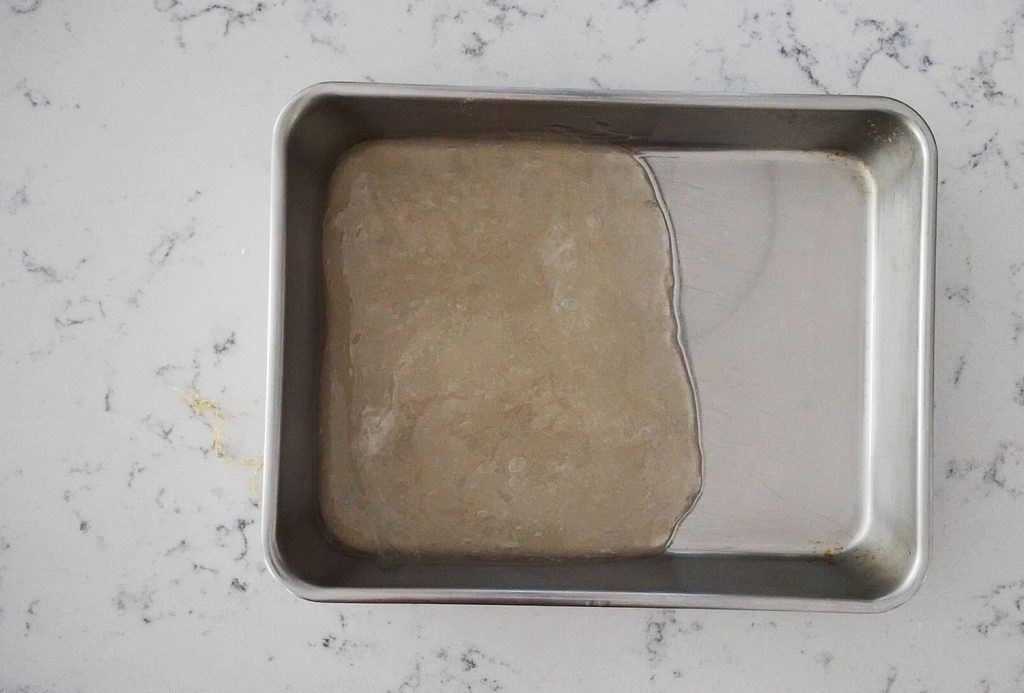
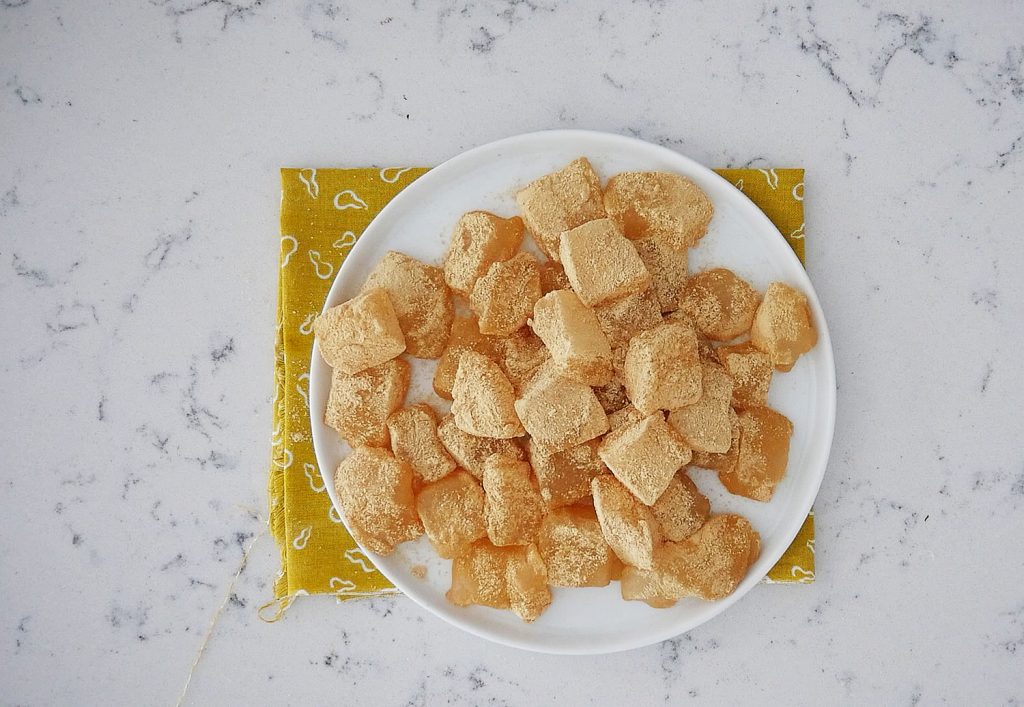
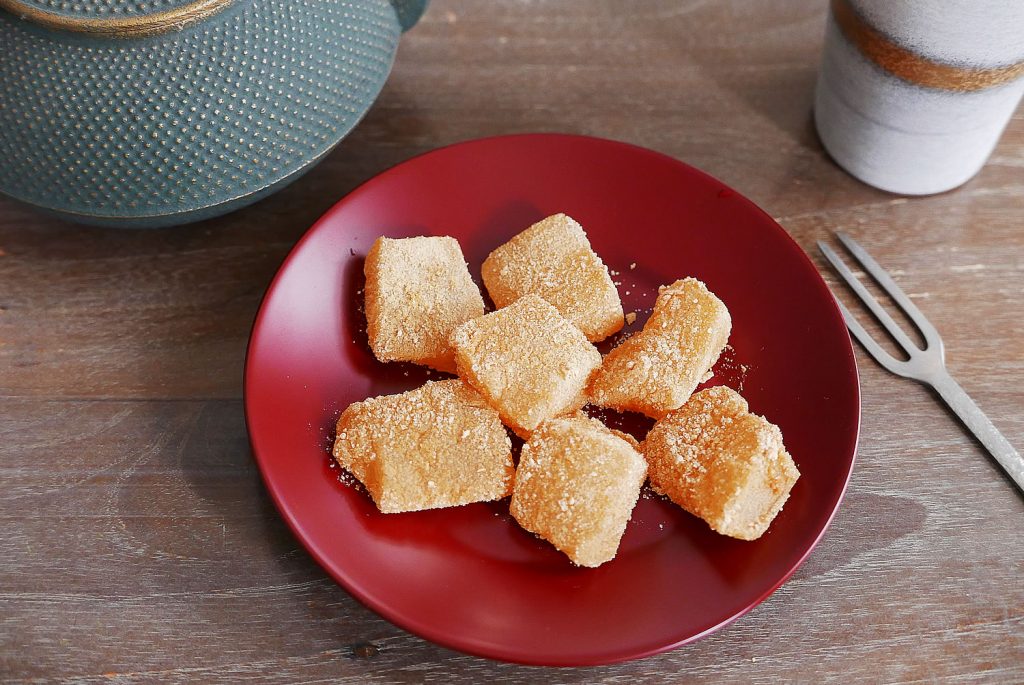
Warabi Mochi – Mochi Recipe わらび餅
September 23, 2020
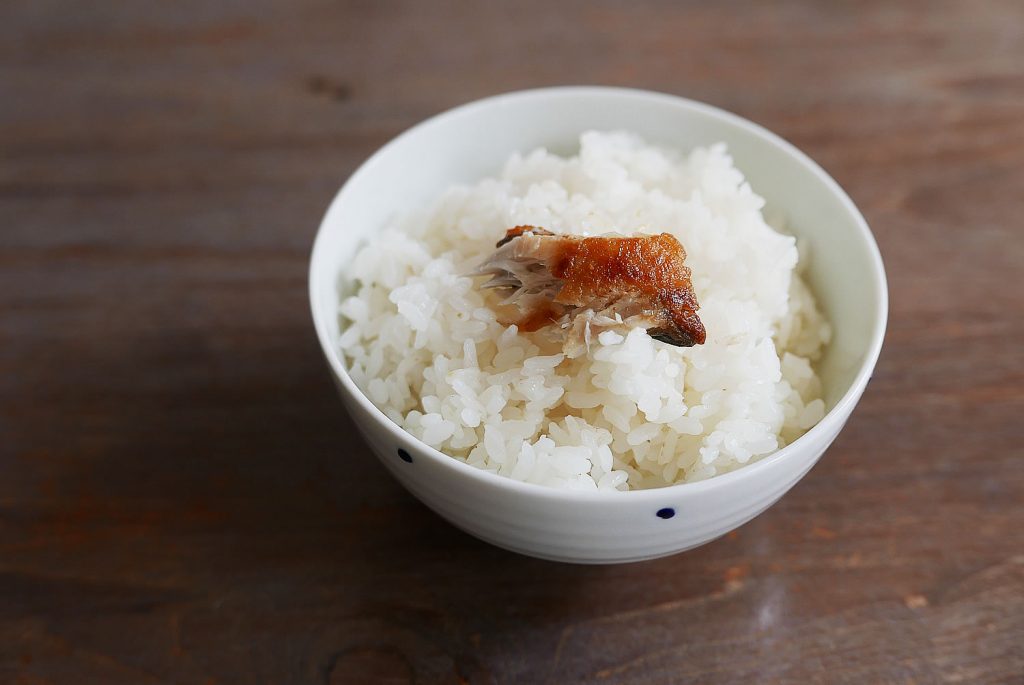
Saba Shioyaki – Recipe for 1 – Japanese Salt Grilled Mackerel
1
2
3
…
5
Next Page »